
Every pet owner know that any photo of their fur baby is a great photo but sometimes you just get one that is a gem. Here are some tricks that I use to increase the number of gems that I get in a batch of photos.
These techniques can also be applied to photographing wild animals; however wild animals add an extra challenge in that they will run away if you get too close to them, and outdoor lighting conditions are much harder to control.
To see the types of images I have been able to acomplish using these methods, check out my website.
Tip 1: Understand your Pet, and Plan your Shoot.
Whether or not there are children involved, pets can be difficult to photograph, particularly if you're unprepared, and have no idea how to handle the pet(s) in question.
You should hopefully know your own pet's routine. Feeding times, napping times, when and where they play, and with what/whom.
If you want an action shot, take photos while someone else plays with them in the park. If you want a cute napping shot, sit somewhere near their bed calmly with a book, or watch tv (obviously with camera at hand) and let the pet settle down. Most people try to simply order the dog to lay down and take a photo, and this isn't going to work.
The closer you are to your ideal shooting angle, the easier it will be to get the camera where it needs to be without disturbing the pet. Don't go out of the room to get the camera after the pet has calmed down, don't have it in the bag where zippers and rummaging will cause the pet to wake up and investigate. If you're using a smart phone, set it to silent long before you take a picture. Better yet, set it to airplane mode so no one calls you in the critical moment. Be calm, soothe the pet when moving slowly to your shot. No sudden movements, make sure no one else bursts into the room, just let the pet think that everything is as it should be/normal.
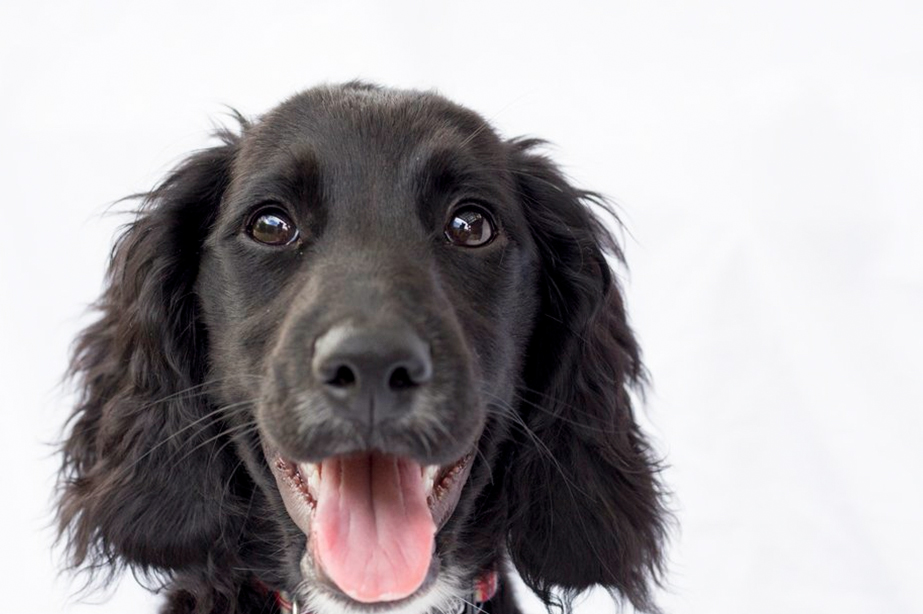
Tip 1.5: Get Down Low, (or at least the same height as the head of your pet) and be selective when you call them by name.
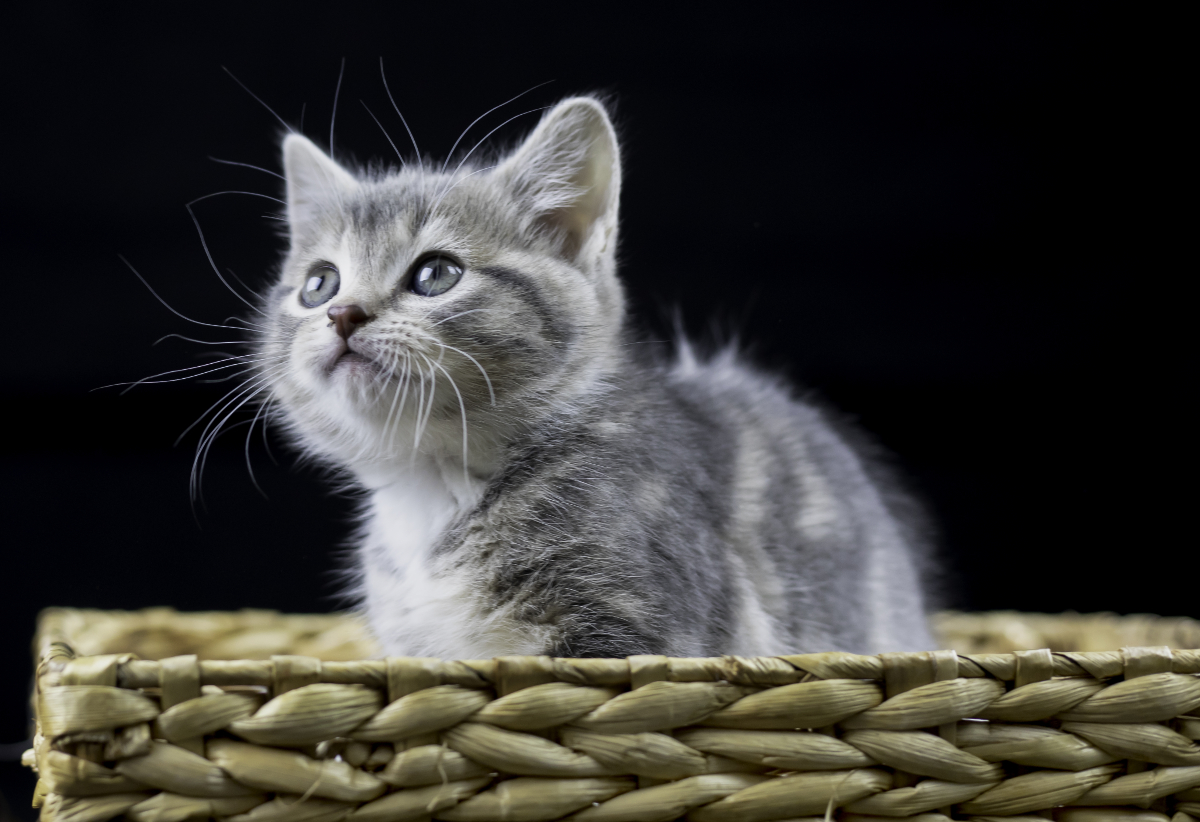
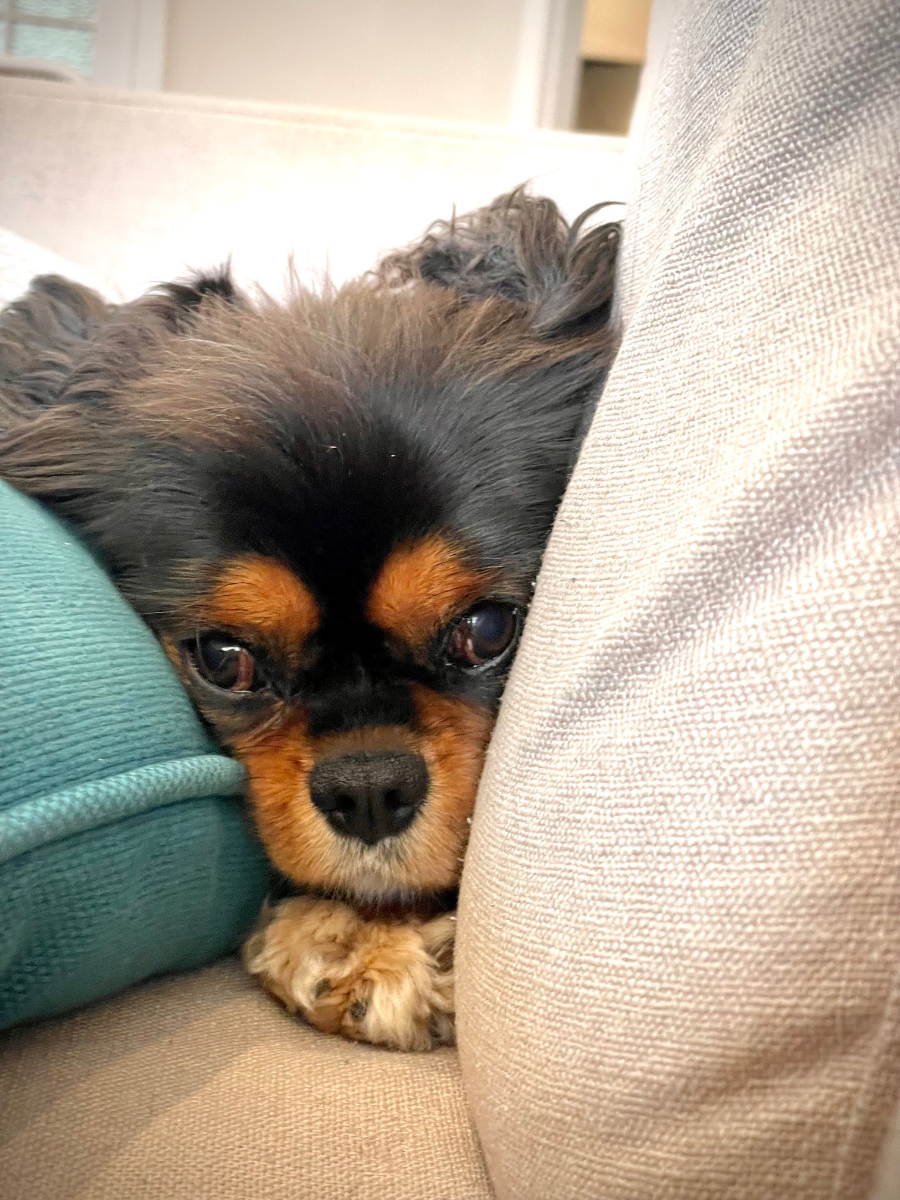
We relate to animals the way we relate to other humans, through their faces, and particularly through their eyes and mouth. When you are photographing animals, you want to make sure their faces are as natural as possible, therefore you don’t want them to be straining to look up at you. Crouch down to the level of the animal’s face, even if that means laying on your belly, your pictures will look much more intimate and interesting that way.
Why is calling your pet problematic?
I often find if you call an animal’s name they will move from their position and head toward you, this might not always be what you want, if you just want them to look at you, rather than come to you, I find making funny noises, like blowing raspberries, captures their attention without getting them up from their position (well mostly anyway).
When does calling their name work?
If you are taking a shot from their side or from behind them, and you want them to come closer, or at least look at you, calling their name will probably achieve that.
Tip 2: Predict your Pets Movements
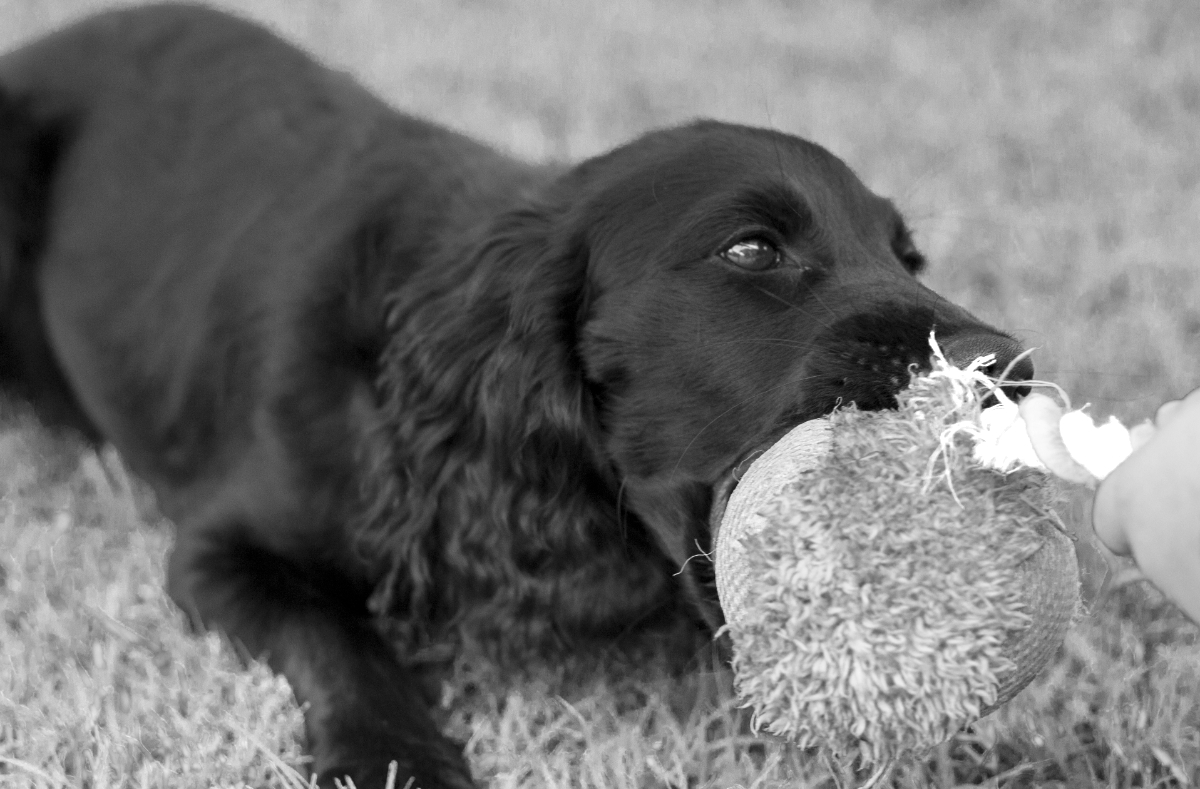
Having a well-trained pet that you can tell where to stand and where to sit is a dream when trying to take photos of them. Most of us however, do not have such well-trained pets so we need to come up with ways to be able to predict the movement of our pets so that we can more easily track their movements with the camera. Food is a great motivator to get your pet to hold something relating to a pose. Other great tools to use to get your pet to look in the right direction for you are toys.
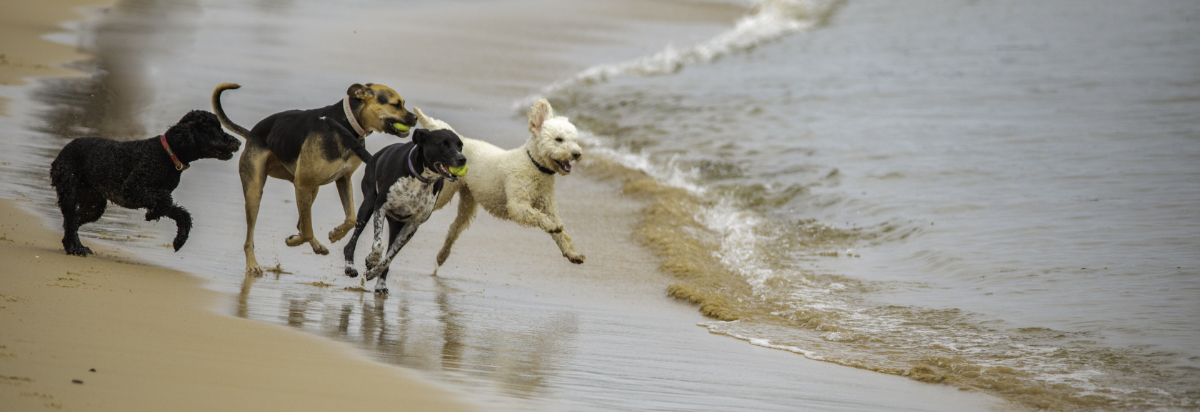
If you want to get a shot of your pet running for example, walk away from them, compose your shot and then call them too you so you can shoot them as they run toward you. Or throw a ball and focus on the ball so that when your pet jumps up to catch the ball, you can snap the shot. Having a second person on hand who can play with the animal while you are taking photos is a fantastic help.
Tip 3: Lighting
Being able to control or use the lighting where your pet is can help you to get their face (or other features like paws, etc) properly lit. However, taking advantage of particular ambient lighting situations will also help. When we say controlling and using light, that doesn't necessarily mean using a ton of fancy studio lighting equipment.
Since pets can move a lot, and be very dark coloured, a well-lit space enables you to shoot with a fast shutter speed. This helps to keep the shots in focus (or at least avoid motion blurring). You also want the light to be soft (meaning diffused, scattered evenly from a variety of angles, like a cloudy day) rather than light coming from direct single point (light bulb, sun, flash, etc). You can create a diffused light by bouncing a single point of light (say a lamp) on a wide white (or white-ish) surface.
I recommend using a constant light source, rather than a flash, and aiming it at the roof of the room.
Why no flash?
Two reasons:
- It will often disturb/scare the animal you are trying to take photos of, causing them to move erratically rather than naturally. A scared pet will not make a good photograph.
- Depending on your flash, it may take several seconds to recharge between flash bursts, causing you to miss several possibly great moments.
So what do I use?
I use a couple of cheap "Daylight temperature" workshop LED lights from the hardware store to light my room. They are not perfect for colour matching, but colour is quick and easy to adjust in post these days. I choose to sacrifice colour accuracy because I consider "capturing the moment" the more important part.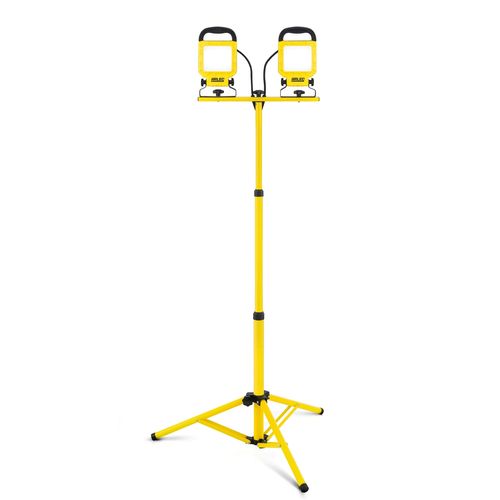
That said...
If you have a decent amount of money to work with, I recommend going with dedicated video studio lights (brands like Amaran, Aputure, Godox, are often aimed at hobbyist content creators, which are either colour accurate, or can be colour calibrated if you buy the higher-ended offerings). This kind of gear can get expensive, may have issues like they don't run on batteries, or loud cooling fans that may interfere with sound recording (when doing video work) so do some research, watch some YouTube videos, and learn some basic lighting. You can probably do that in an hour or two.
Using natural light
When outdoors, natural lighting varies over time (night, day, cloudy, or sunny, etc) so it is a bit more complicated to predict. It gets even more complicated if you use artificial light sources (or reflectors) as well. To keep things simple for now, we'll focus on using natural light.
Time of Day
The easiest way to control how your photos look in natural light, is by selecting the best time of day. Sunrise and sunset are the best times for natural daylight shooting. The light is gentler, more golden, and the low angle of the sun encourages gentler, more pleasing shadows in your images.
If you shoot in direct sunlight during the middle of the day, the glare and shadows become harsh, people (and pets) become "squinty", the shadows accentuate wrinkles, and the subject (pet or human.. perhaps even photographer too) will not be enjoying themselves, and this will show up in the photo.
Can you shoot pets in the middle of the day?
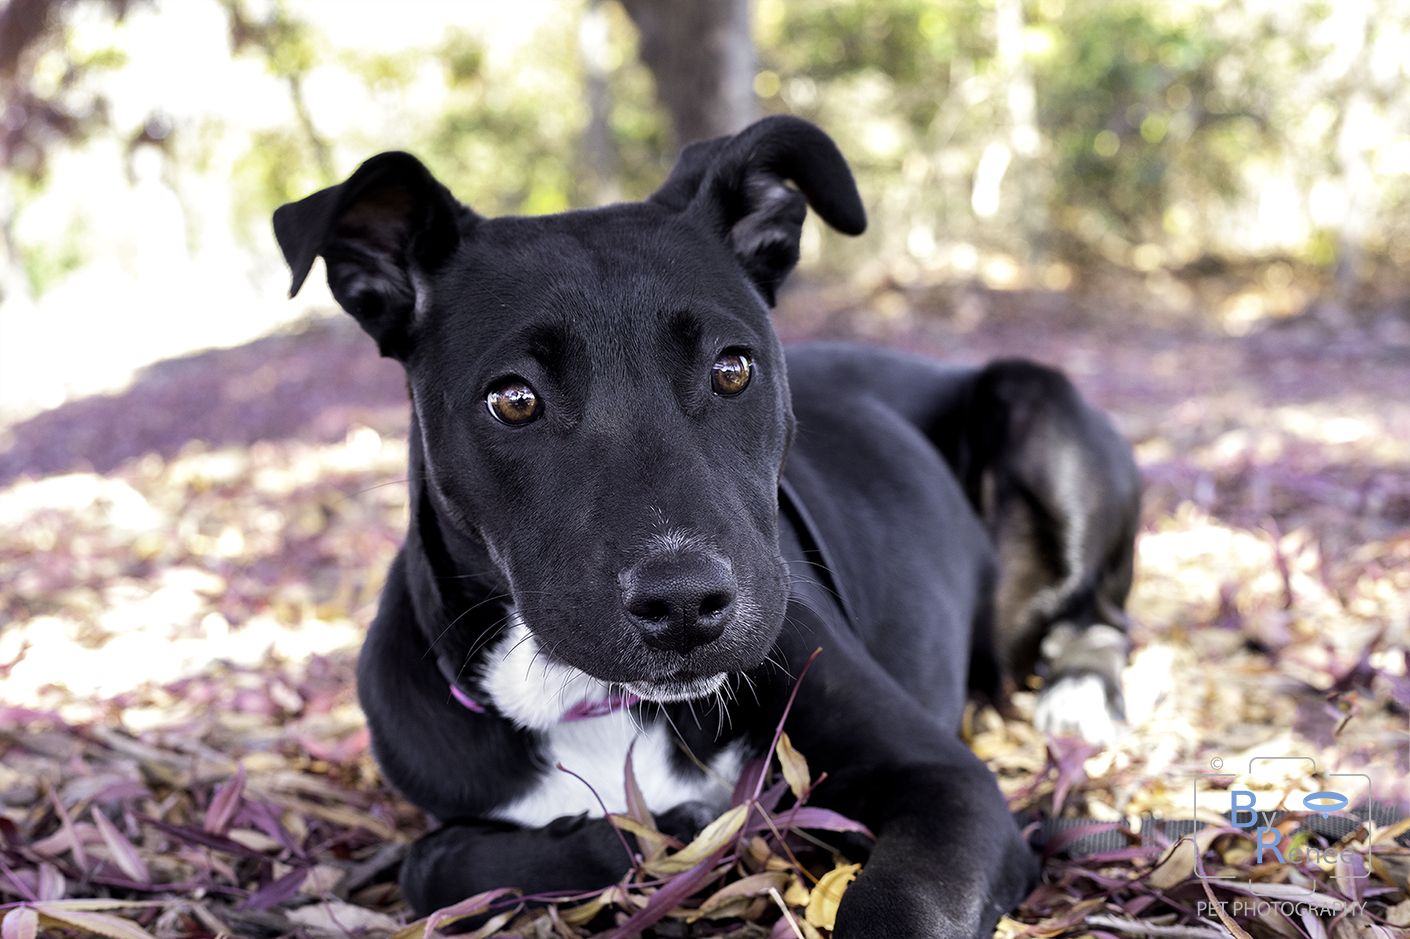
Sure, but this requires some creativity, equipment, or both. The simplest approach is to get your subjects into the shade. Not deep shade. In fact, it's best if they're just inside a shaded area preferably where the light is even.
If you have spots of direct sunlight filtering through trees, and landing on the face of your pet, it'll make them look "splotchy".. either the bright patches will "blow out" the details, or the shadows will seem like black featureless patches... possibly even both. So try to get even lighting on your subject.
Background is important too!
Ok, so you get your puppy into the shade, the light is even on them... you do not want the background to include a significantly brighter background. (In other words, shoot into the shade, not through the shade, past your subject and into the bright sunshine again). It's generally best to start with a shaded background. Could be a bed, a wall, a flower bush. If the background is brighter than the pet, then this can cause the exposure to drift (too bright or dark), and distract viewers from looking at your pet.
Noon often works really well indoors. Or any time there's enough light really...
If you're shooting indoors, and have large windows (glass doors, or open doorway), get the pet lit by the light coming in through that door/window. I'm not talking about direct sun streaming in early in the morning/late in the afternoon, just "light from outside".
Sure you can include the window so show what your pet is looking at, but often it's too bright, relative to your pet.. unless you want to create a silhouette or something, (a creative use of the situation) it's probably best to keep windows and doors out of the image. This is a common technique for portraiture of people and pets, and can be done easily on a budget. :-)
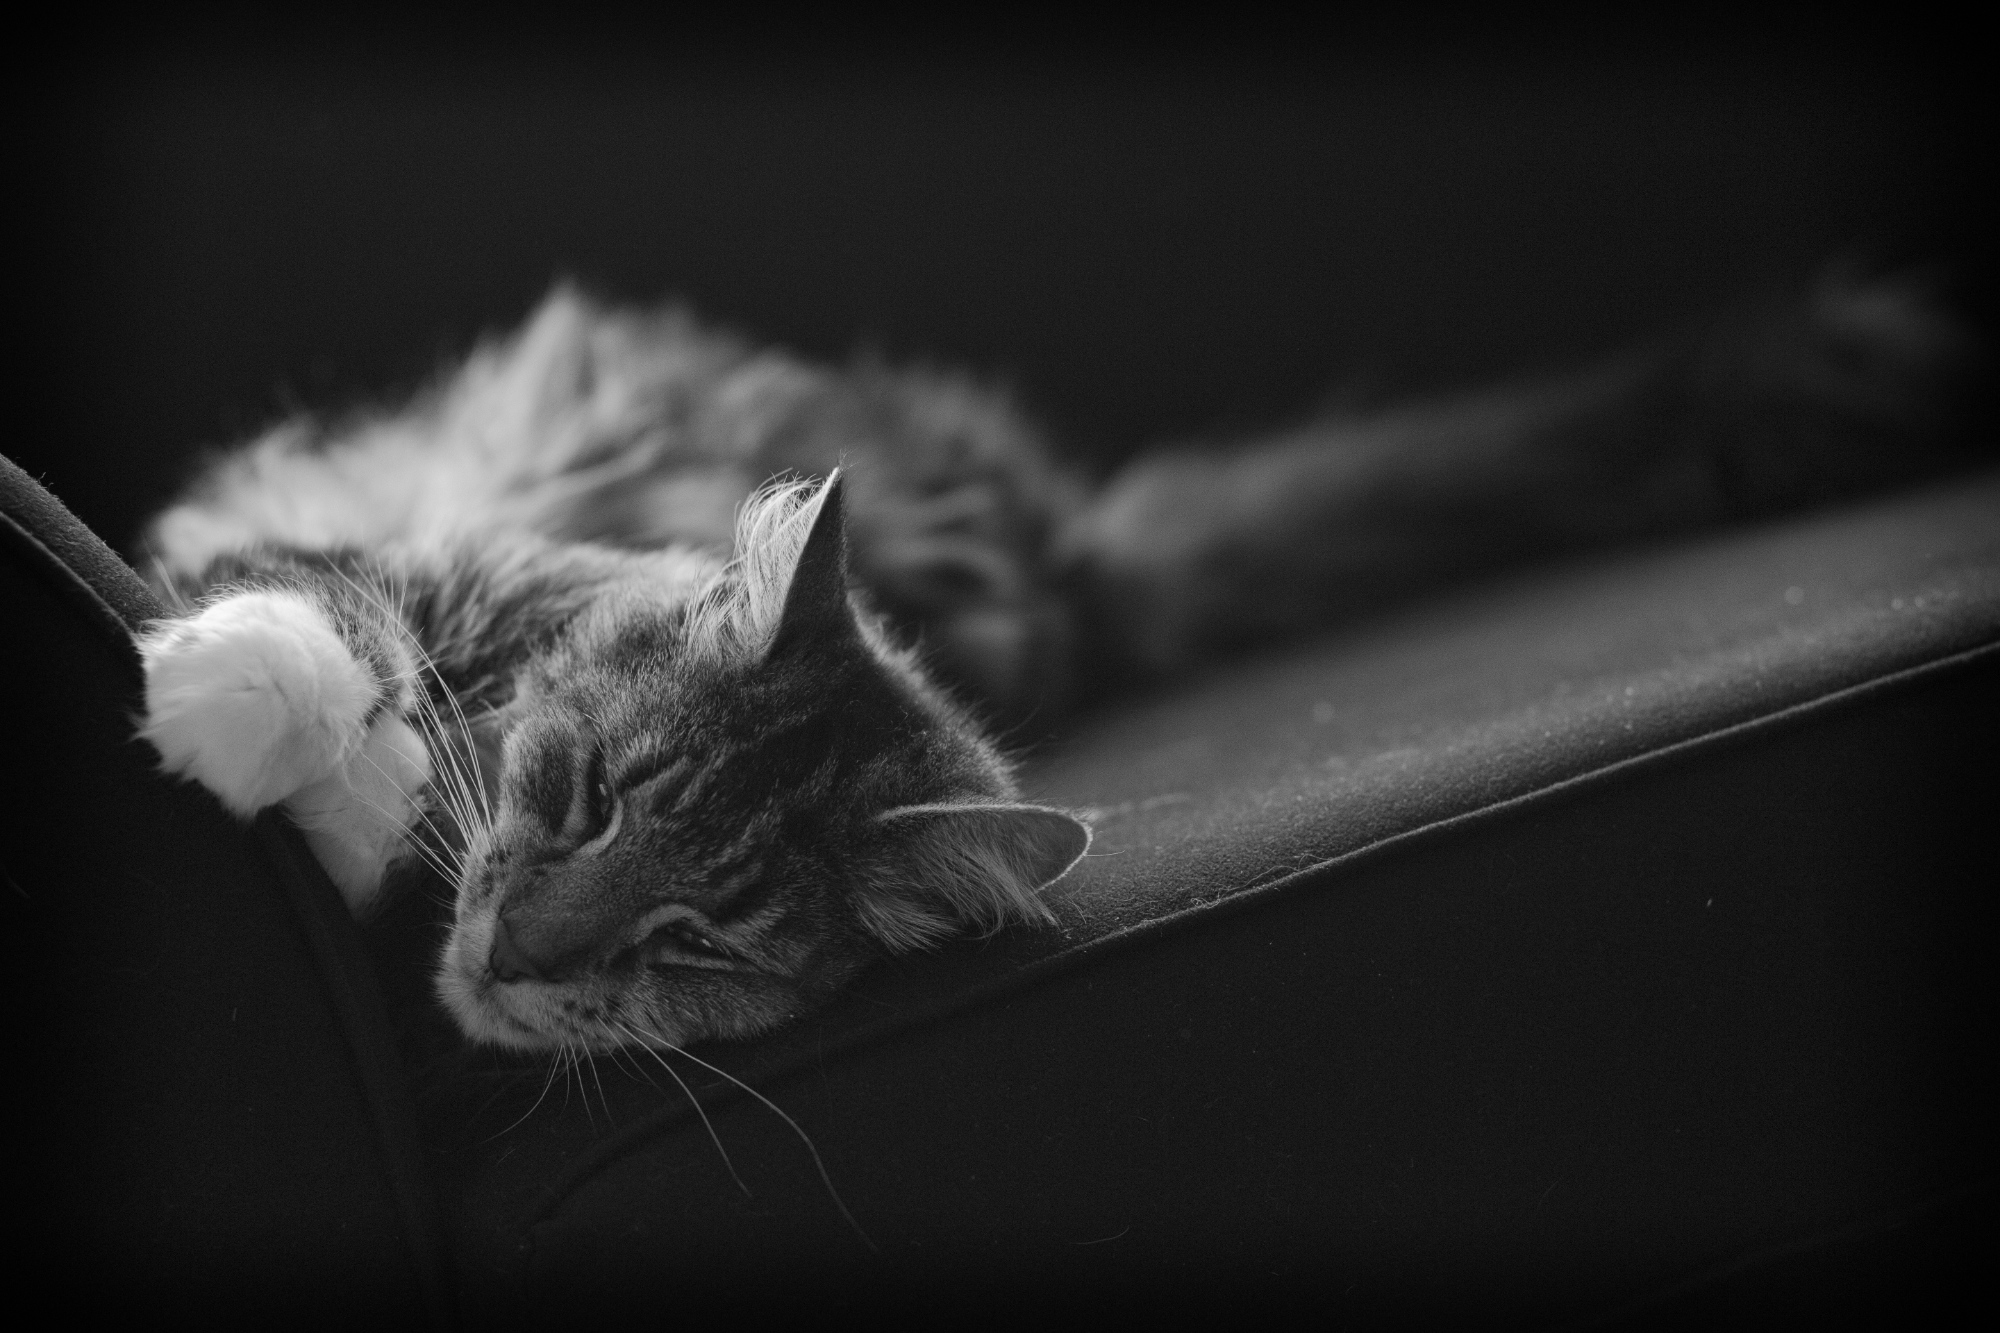
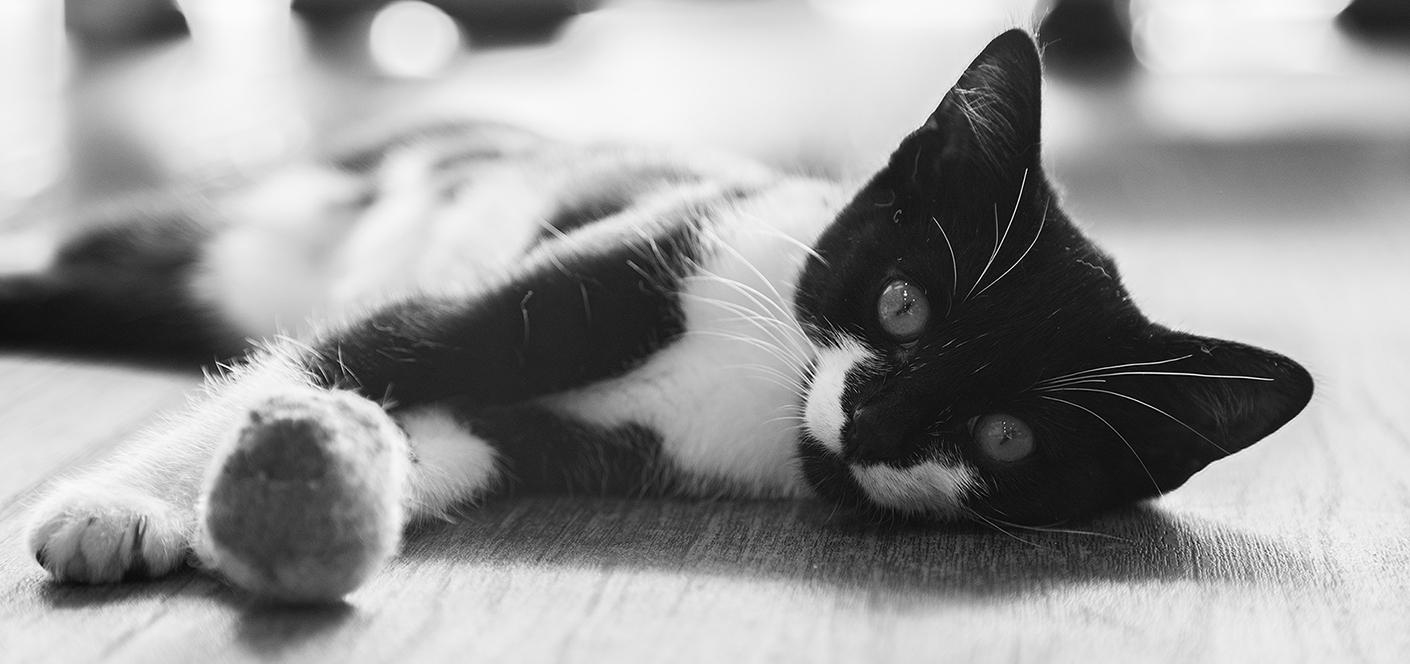
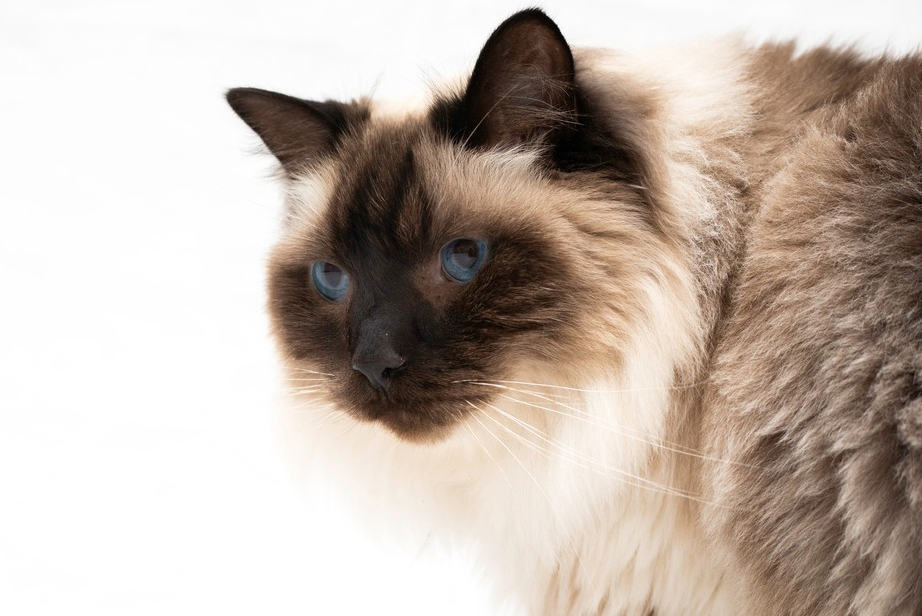
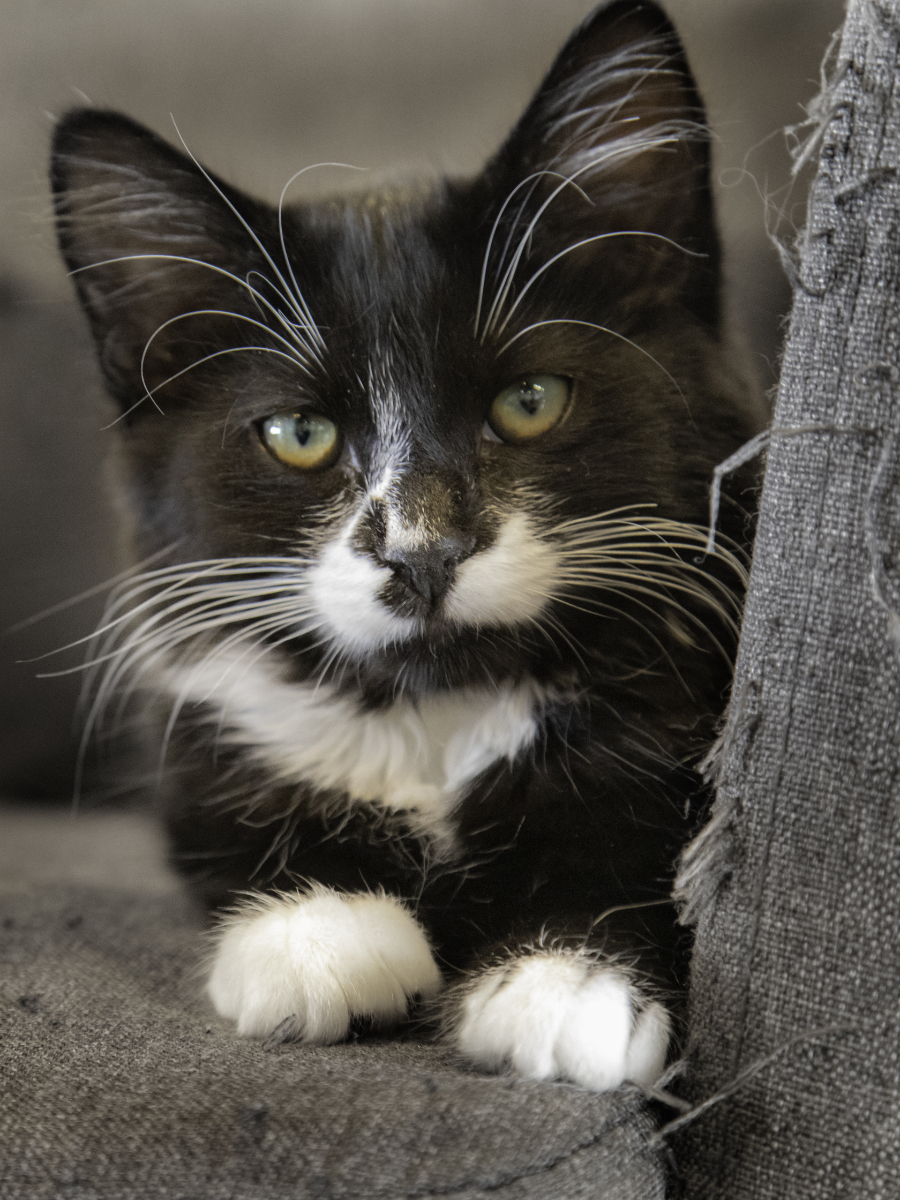
Here Frida (the cat) was lit from behind/above from the light coming in through the window there. In front of the cat (behind the photographer) was another open window which gave the eyes some light into it. I freely admit the black sofa has a black vignette added in post to hide some of the fur on it. But the light on the cat is entirely natural, and Frida has been left largely untouched.
Using weather to manage light
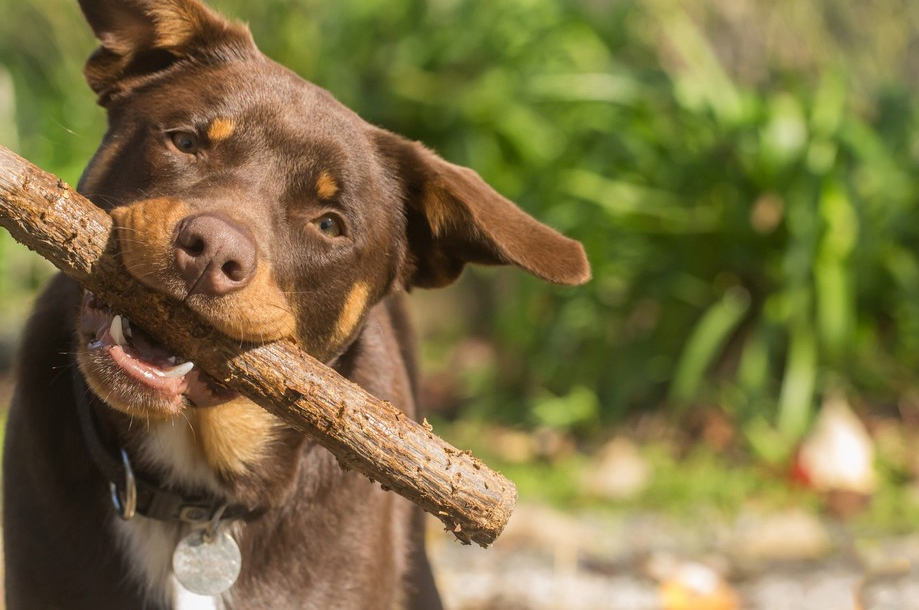
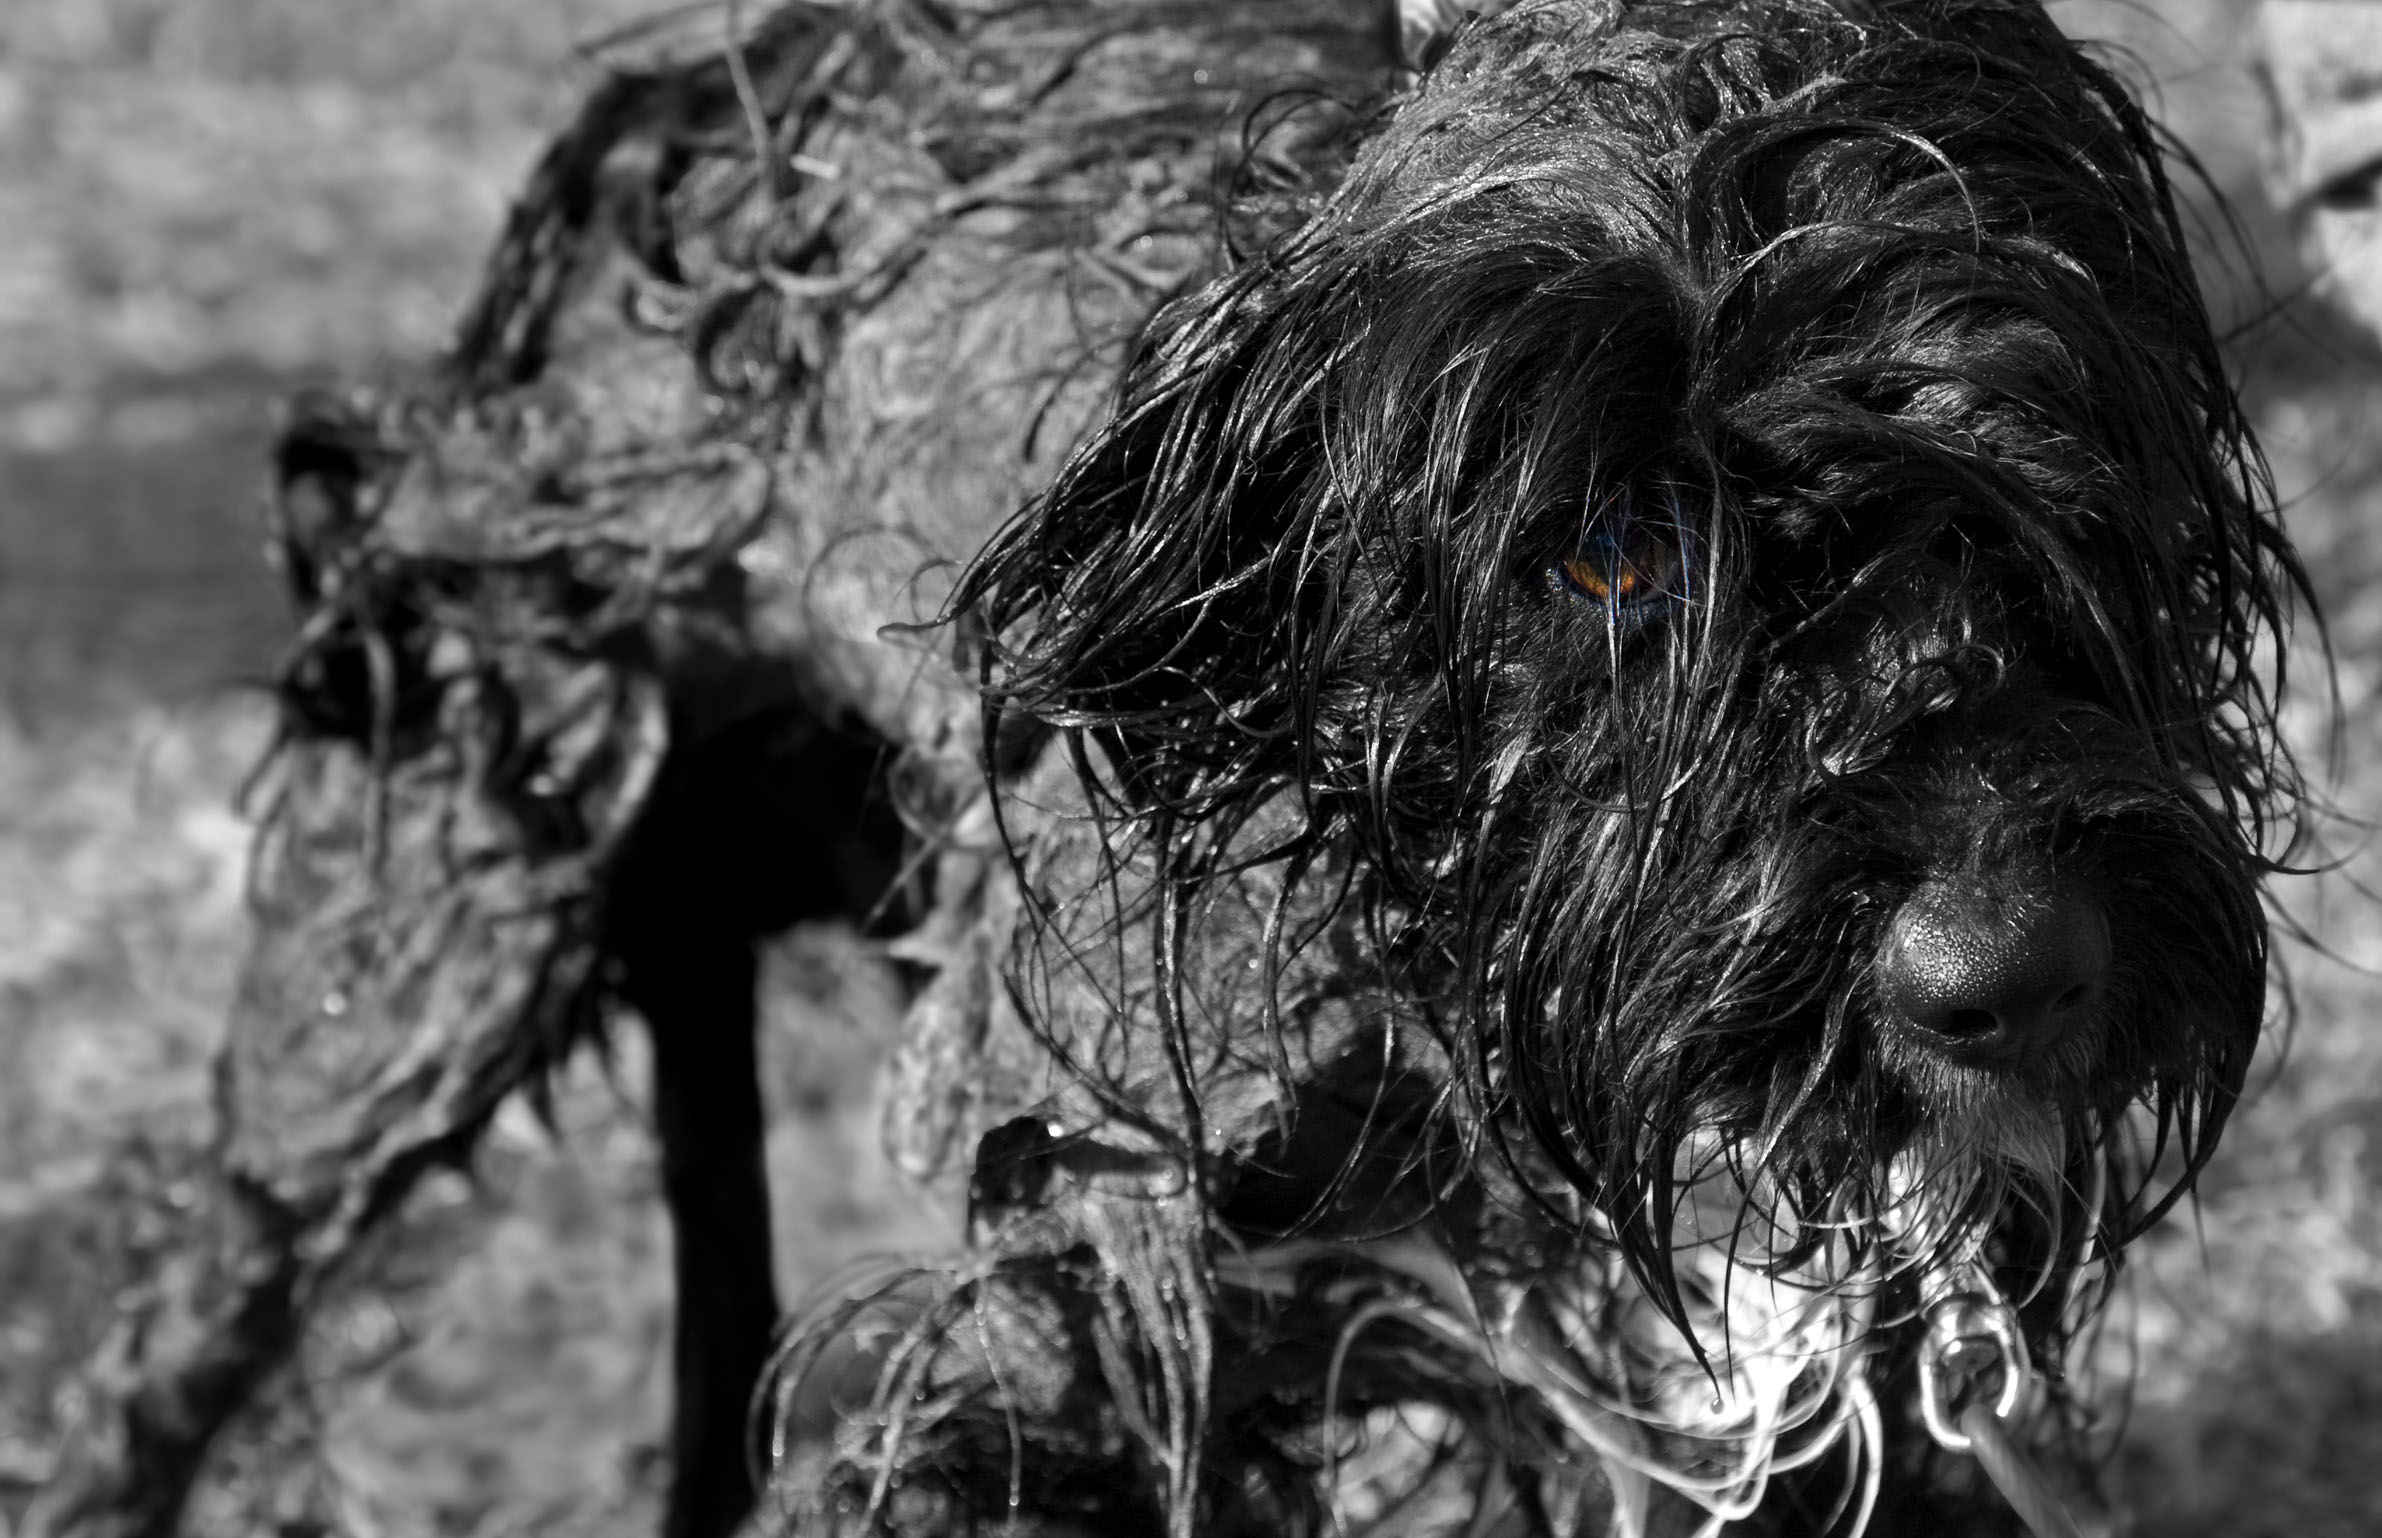
Cloudy days are also great for photographing your pet (and people) because the clouds disperse the light and soften the edges of any shadows. Or to think of it more simply, people and pets are less "squinty" and "wrinkly". The bright bits aren't so excessively bright, and the dimmer parts are not so dark. This makes things much easier for the camera to record. That said, if you have a dog with loose rolls of skin, or the texture of the nose or fur is important, then direct light can be great to show those details.
I don't want you to think that all direct light is bad, it can be used to creative effect when shooting silhouettes, textures, and where colour is important. However, it needs consideration, and some management to do well.
Tip 4: Rapid fire (Or High Speed Continuous Drive) is your Friend
Most digital cameras these days have a rapid-fire function available. If it helps, think of it as a "fully automatic rifle".
It basically means that it will continue taking photo after photo until you take your finger off the shutter button. For DSLR’s you will most likely find this function under your shooting mode menu (or DRIVE-AF), you will probably also need to turn on your AI SERVO focusing mode. This will make sure the camera refocuses before each shot rather than just focusing once and then keeping that same focus for the rest of the shots. For a moving target this function is very important.
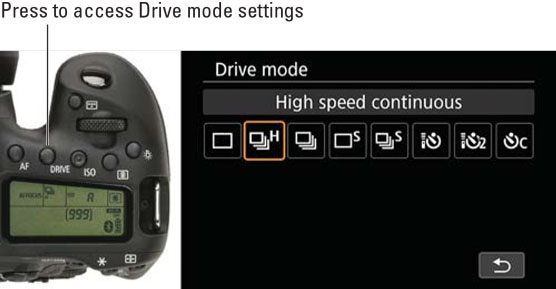
Burst/Rapid Fire/Continuous Shooting Mode
For DSLR users you will also need to check your shutter speed. You can either use a shutter priority or manual mode to set the shutter speed manually or you can just check from time to time to ensure your shutter speed is fast enough to prevent any motion blur. I would recommend a shutter speed somewhere around 100 to 200 to ensure you get your subject in focus. You may need to adjust your aperture or the amount of light available to ensure you can get a fast enough shutter speed.
If you have a smaller camera, you may find you will need to use the “sports” or “children and pets” mode on your camera to get this rapid-fire shooting. In cases like this your camera will automatically adjust the focusing system to match.
When your pet starts to move, hold down the shutter button to keep shooting while you follow the pets’ movements through the viewfinder. This will take some practice as tracking a moving object in your viewfinder can be tricky. Unfortunately, the only way to get better is to practice. Which brings me to my next point.
Tip 5: Use narrow depth of field
The right depth of field will vary depending on what lens you are using and how close you are to the subject. Finding the right depth of field can often be a matter of trial and error until you become familiar with the equipment you are using.
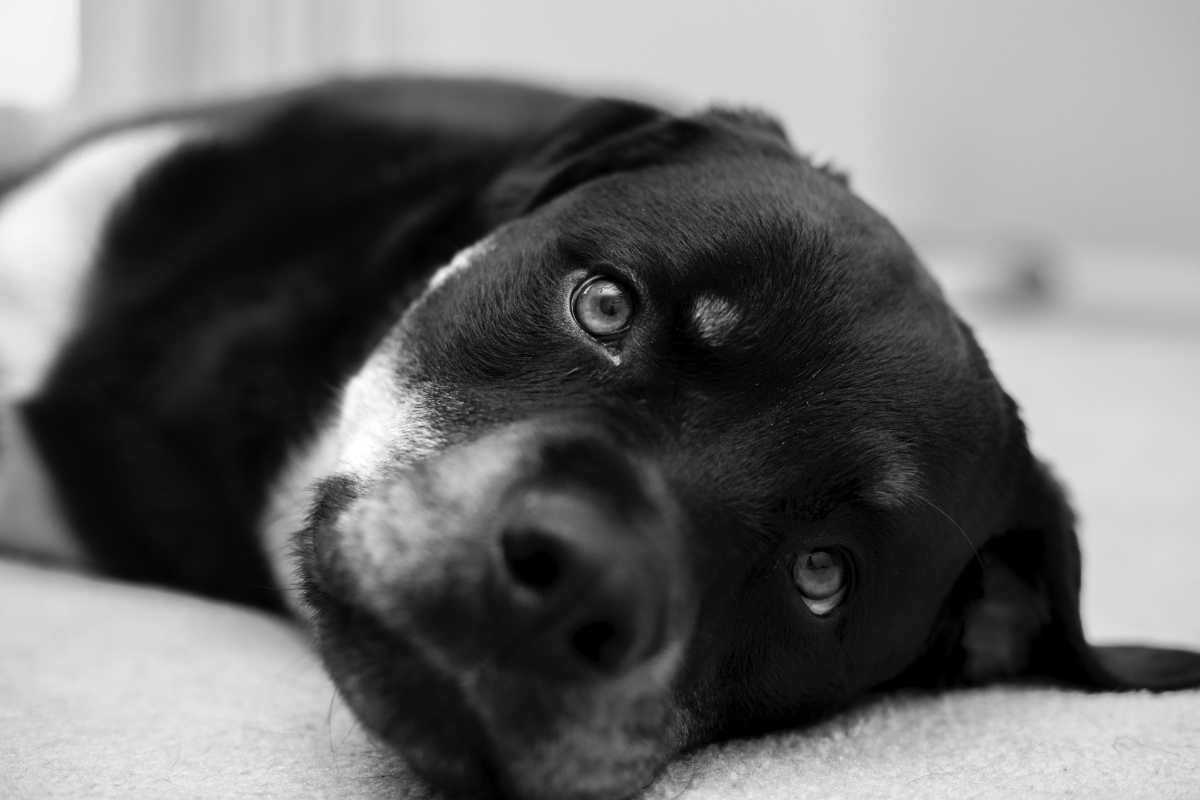
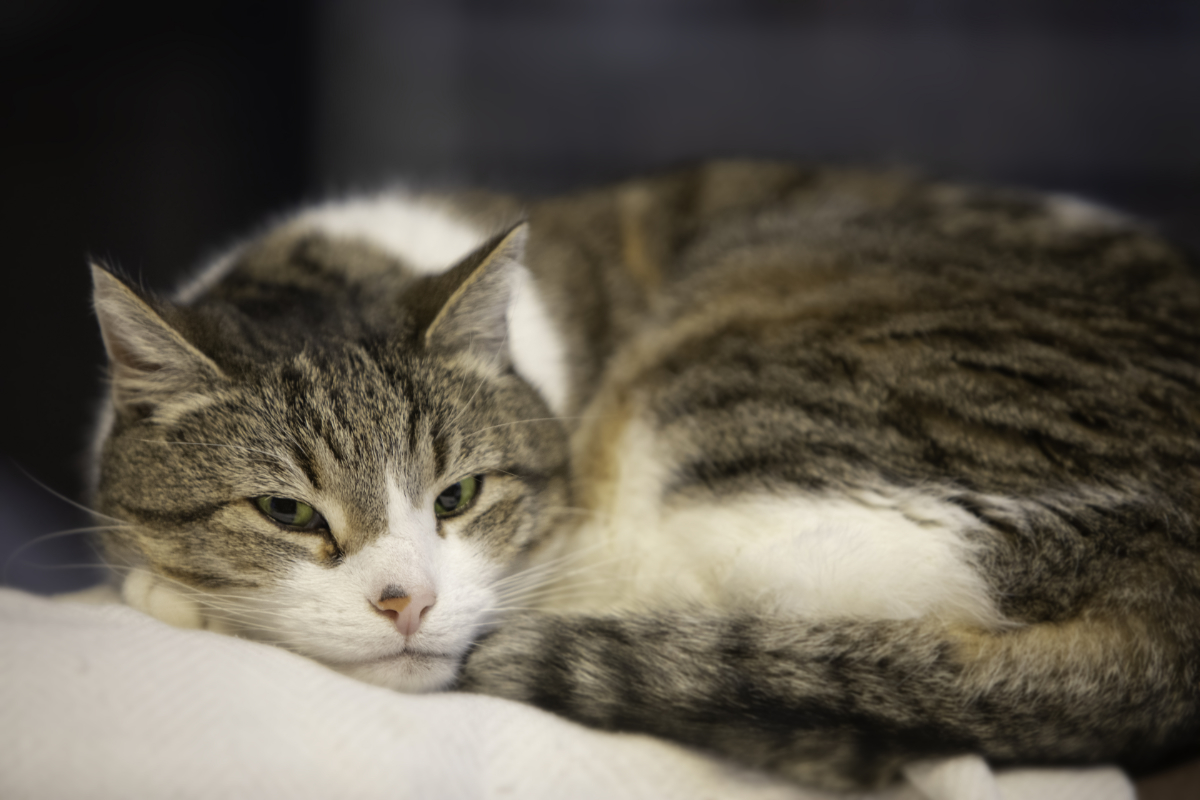
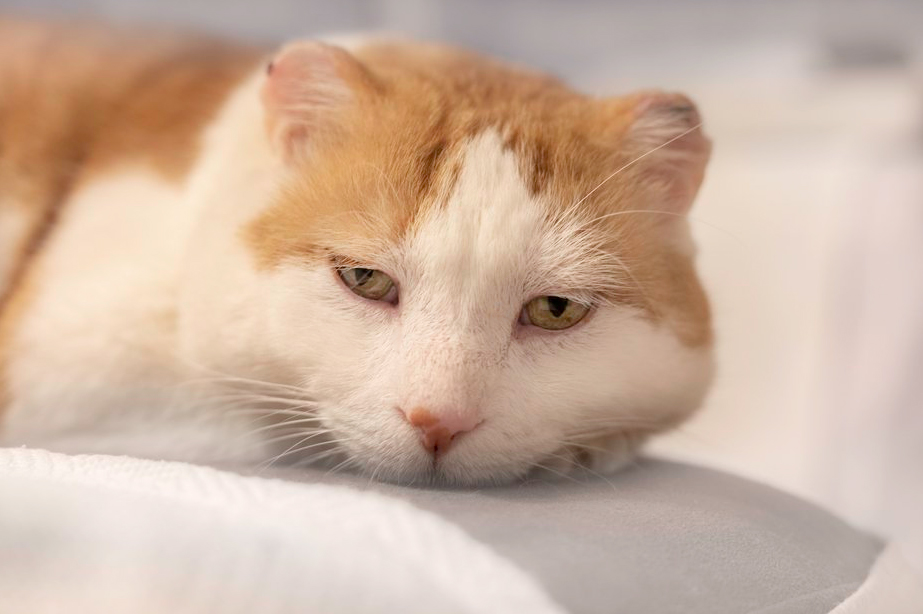
The key to finding the right depth of field is again found in how we relate to animals, through their faces. In general, the most comfortable depth of field for viewing a photo puts the pets’ eyes and face in focus but not much more than that. The eyes are the key. You should always ensure that at least one of your pets’ eyes are in sharp focus, usually the one the pet is looking at you through. The rest of the pet’s face can be either properly in focus or in soft focus (meaning that you can still see the details, but the features look just a little softer than the areas in sharp focus). After the face, you want your photo to gradually lose focus so that the shape of the animal is clear but the details such as the texture of the fur are not distracting you from looking at their face.
To give you a starting point I regularly use a 50mm lens on a full frame DSLR to shoot my pets. With most of the cat or dog in the frame I use an aperture of 3.2 or 3.5 to set my depth of field. As I get further away from an animal, I will increase the aperture. Longer lenses also need a higher aperture, eg. Using my 500mm lens on the same camera at 3 metres from my target, I would be using a 6.3 or even higher aperture to get a similar depth of field.
Having said all that, these are simply guidelines to help you get a better understanding of the aesthetics of a good photo of your pet. Like all guidelines if you stick to them religiously, they will box you in. Once you get the hang of these techniques it is important to start exploring different options for you photos and experimenting with what happens when you change the rules. You might find something that is uniquely your style. Such as....
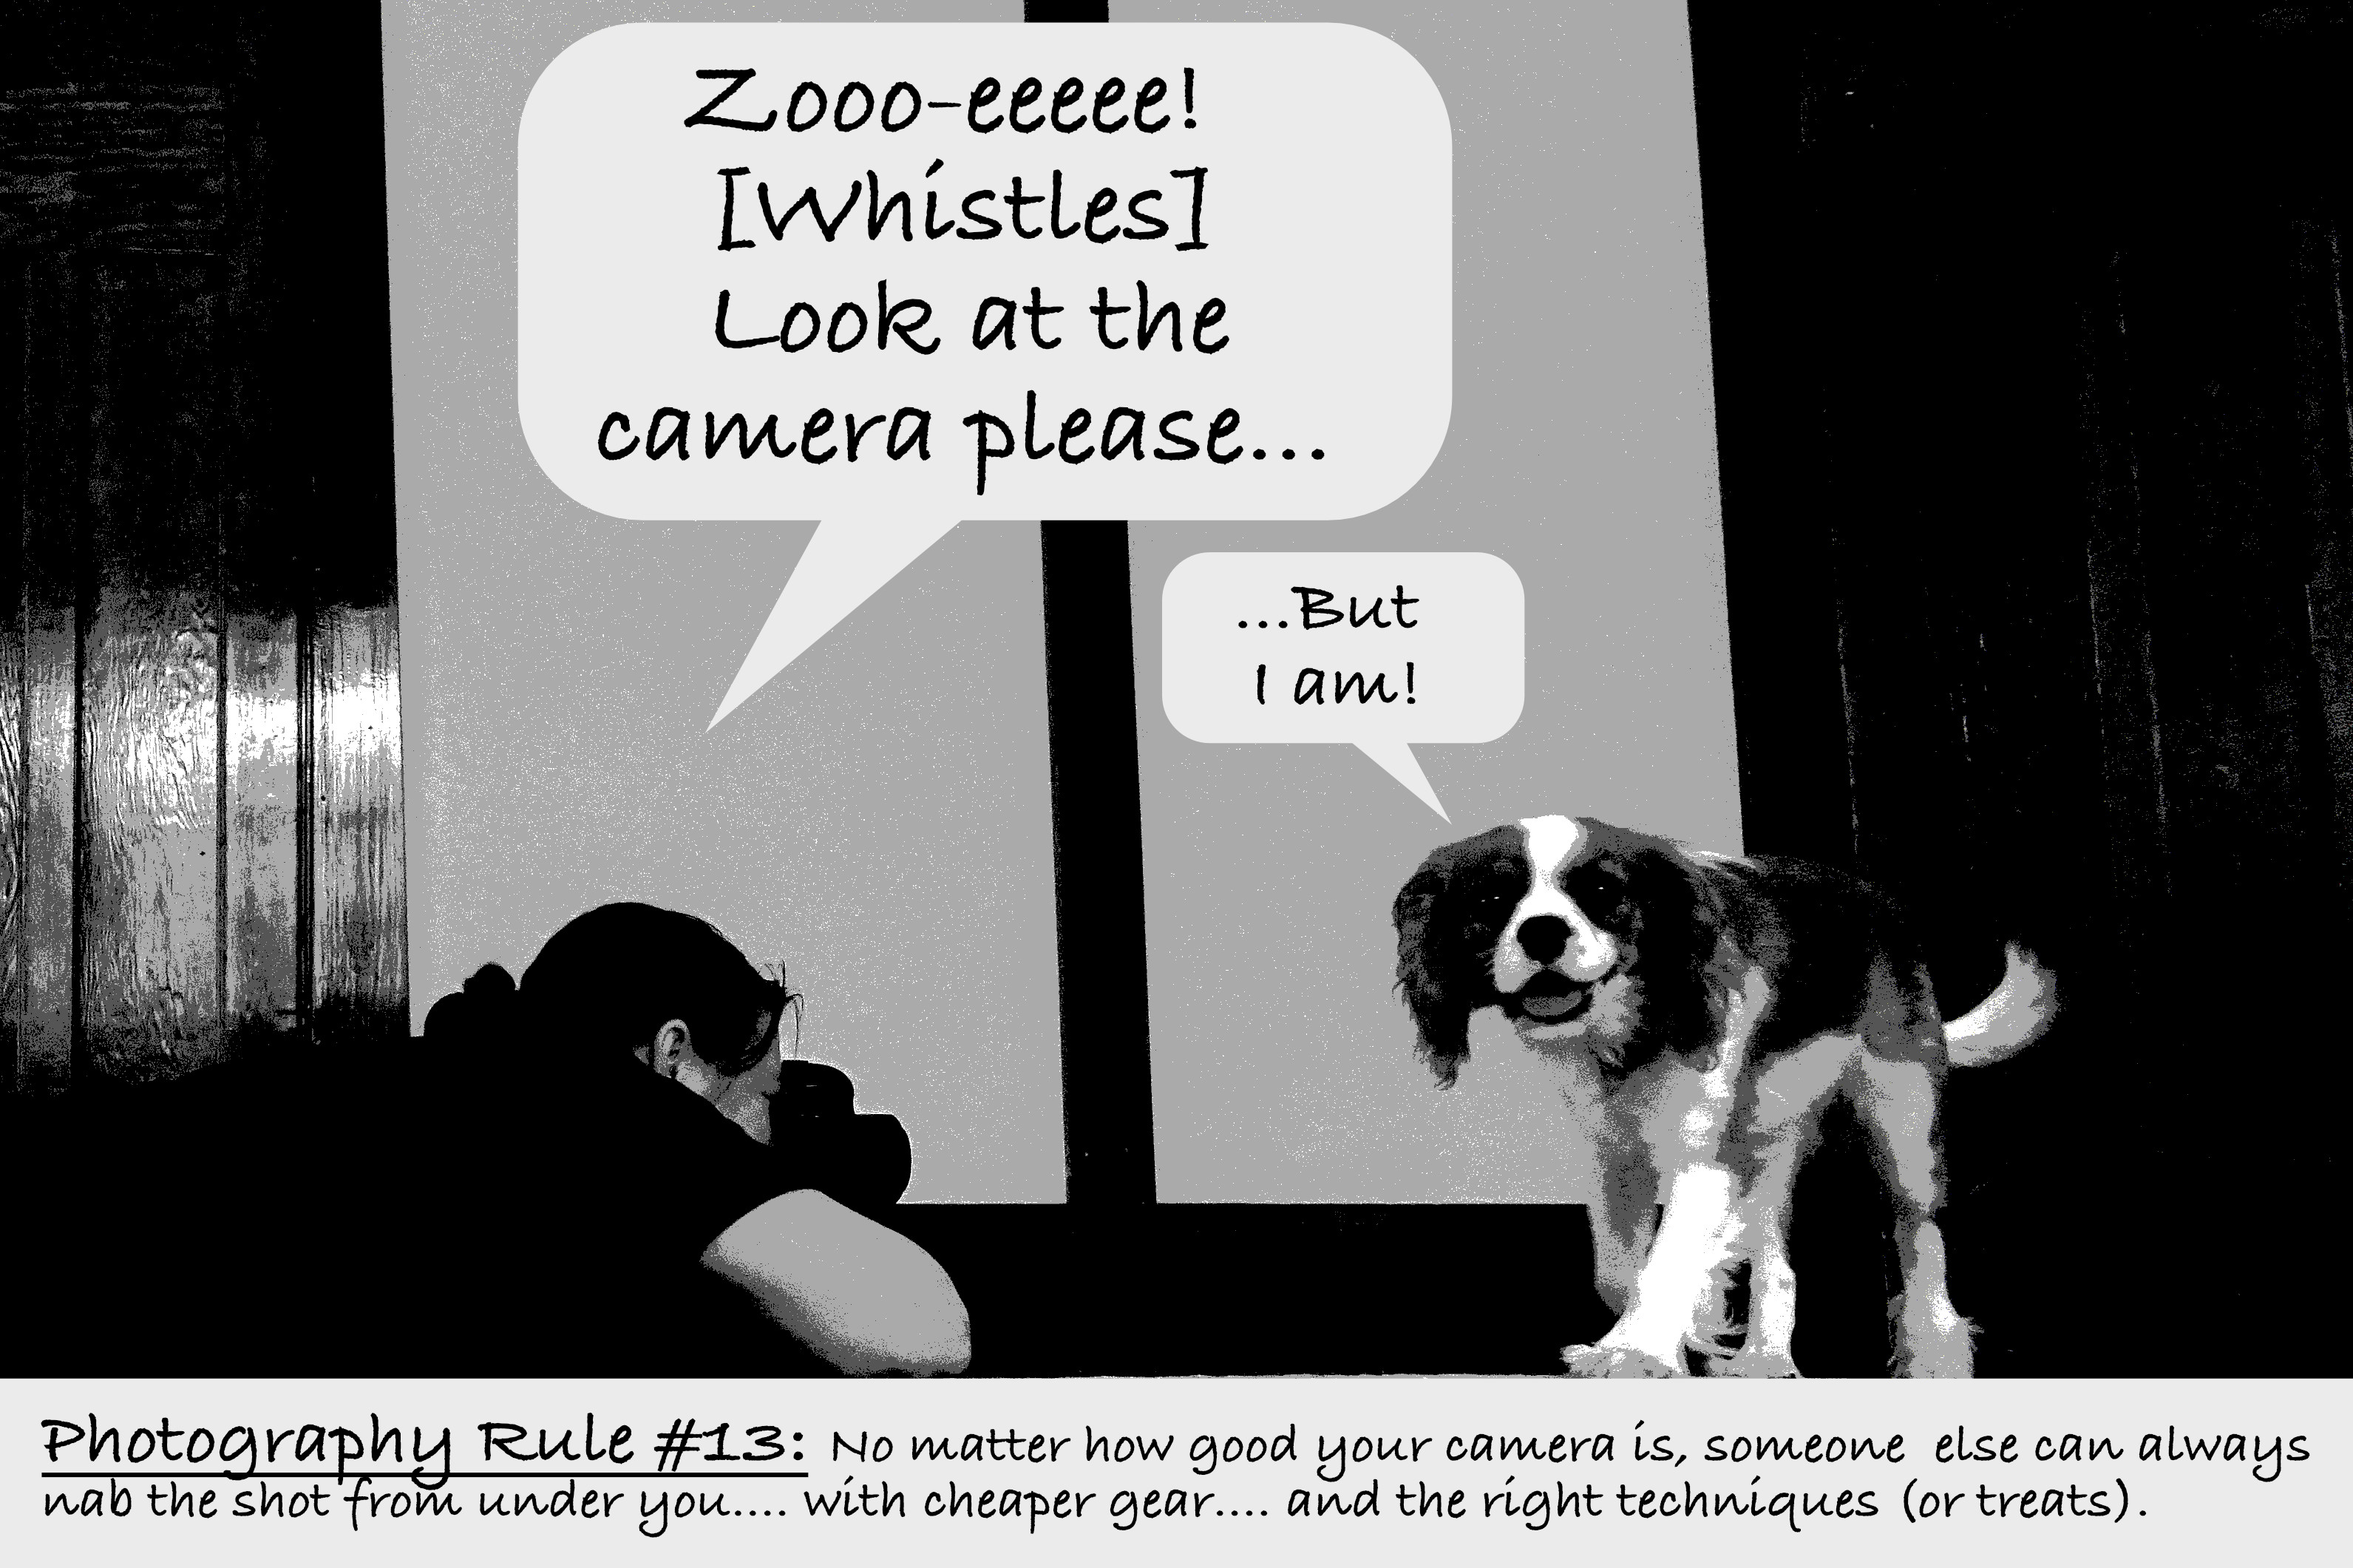
Happy shooting.