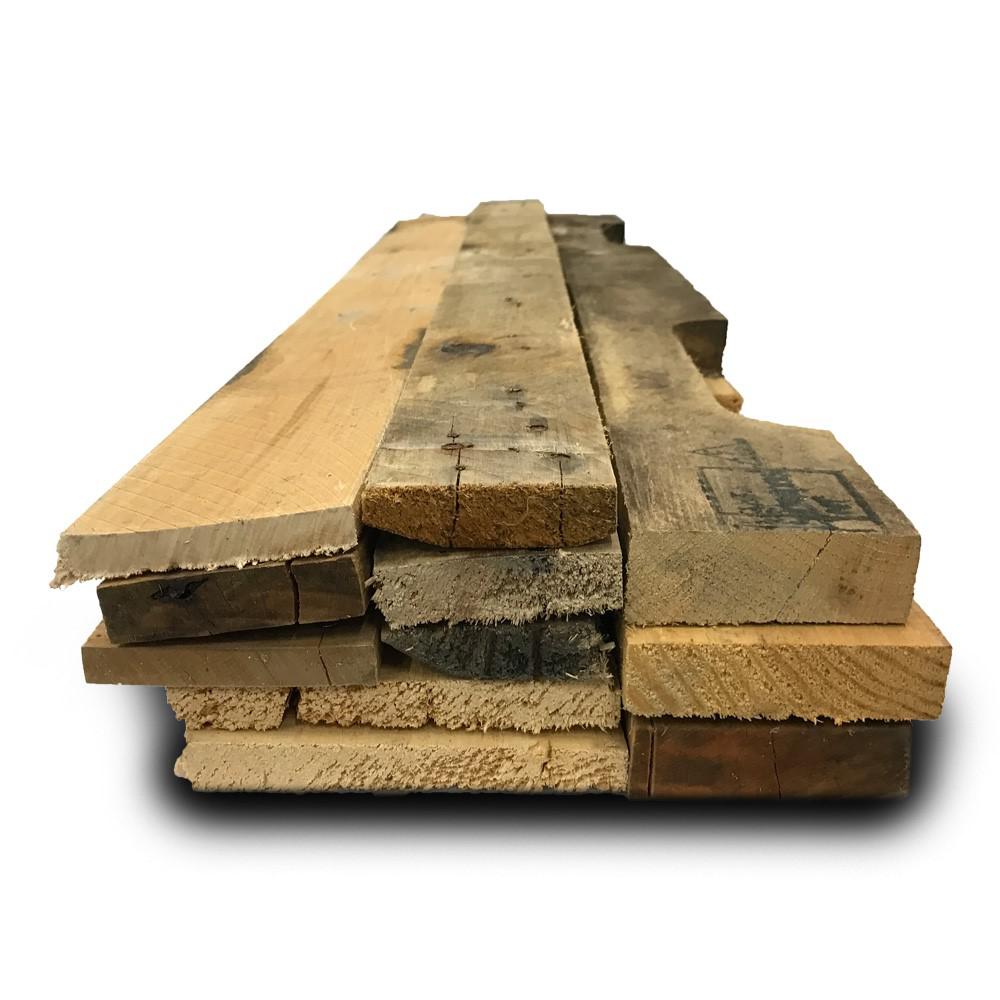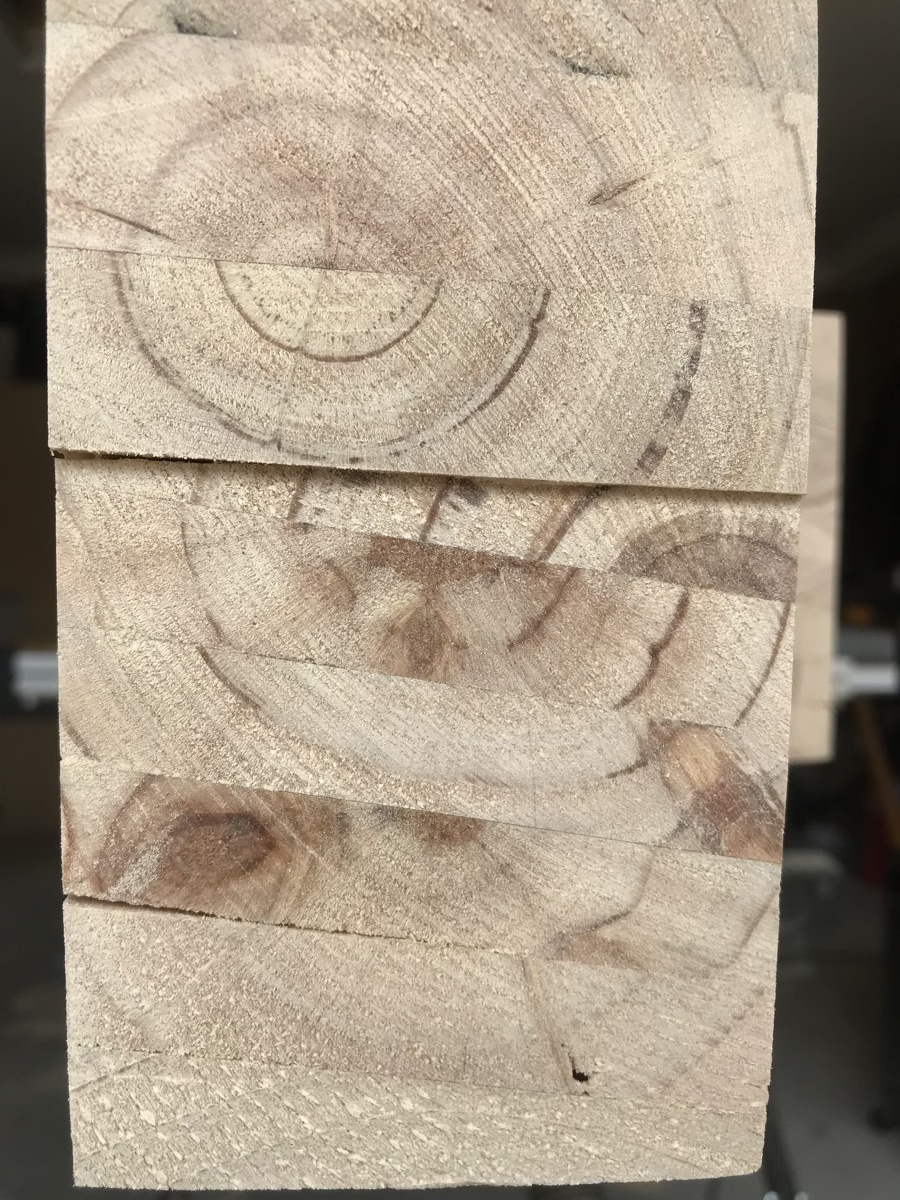
Recycling pallet wood is one of the best ways I know to get cheap lumber. It doesn't involve paying lots of money, nor does it involve cutting down trees. However, while it is cheap and ecologically friendly, it does involve time and effort. Unless you buy them pre-deconstructed from a store, which I've also seen for sale. Fair warning though, the wood comes in a variety of different thicknesses, shapes, conditions, and it's almost never square, true, or flat. In fact, just expect it to be warped, crooked, cupped, and beaten up in some way. Not all of it is safe to use either.
Is this pallet safe to recycle?
Before we get into technical details, lets start by saying this basic guideline. Find yourself clean pallets which aren't from dangerous sources. If you are getting your pallet from an industrial waste site, then this is obviously a bad place to start. If you're getting them practically new from a furniture store, and there is little (if anything) spilled on it, then obviously this is a much better place to start from. :-) Wood can absorb a variety of fluids so try to find the cleanest pallets you can. I also prefer to find pallets with thicker planks, so I can plane them down where needed. Also, by finding cleaner pallets, you can save on sanding it back, and avoid potential inconsistent staining problems later.
Now that you've got the common sense approach covered. Now lets get into some details to help you further.
The IPPC stamp:

The IPPC stamp stands for "International Plant Protection Convention" and they set the standards for pallet wood. You see, trees host any number of diseases and creatures and when they're turned into pallets and then shipped, this is potentially, a big problem for quarantine. Understandably, pallets have to be treated in some way or another in order to be shipped internationally safely.
The two most useful parts of the IPPC stamp are the country of origin, and the treatment code. The country is often a good indicator, since a number of African, Asian, and South American countries use chemicals to treat their pallets. Whereas many European, US, and "western" countries, choose more eco-friendly means, usually by heat treated, kiln drying, or de-barking.
| Treatment Code | Corresponding Treatment Method | Is it safe? |
| HT | Heat Treated | Yes |
| DB | De-barked | Yes |
| MB | Sprayed with Methyl Bromide | No |
| KD | Kiln Dried (usually combined with HT) | Yes |
| No code or stamp on clean pallets (not painted over)? | Not shipped internationally (domestic) | Yes |
What if there is a different type of stamp.. or no stamp at all?
If there is a different stamp.... In general, I'd avoid using it. Unless I can confirm the stamp is in some way informative. If in doubt, don't use it!
If no stamp can be found.... Pallets that haven't got a stamp (and a stamp couldn't have been painted over with spills and such) haven't been shipped internationally, so there's no IPPC stamp. This means that there's no need to treat the wood, so it's likely a safe pallet to use. Providing you operate with the common sense approach mentioned above.
What about painted pallets?
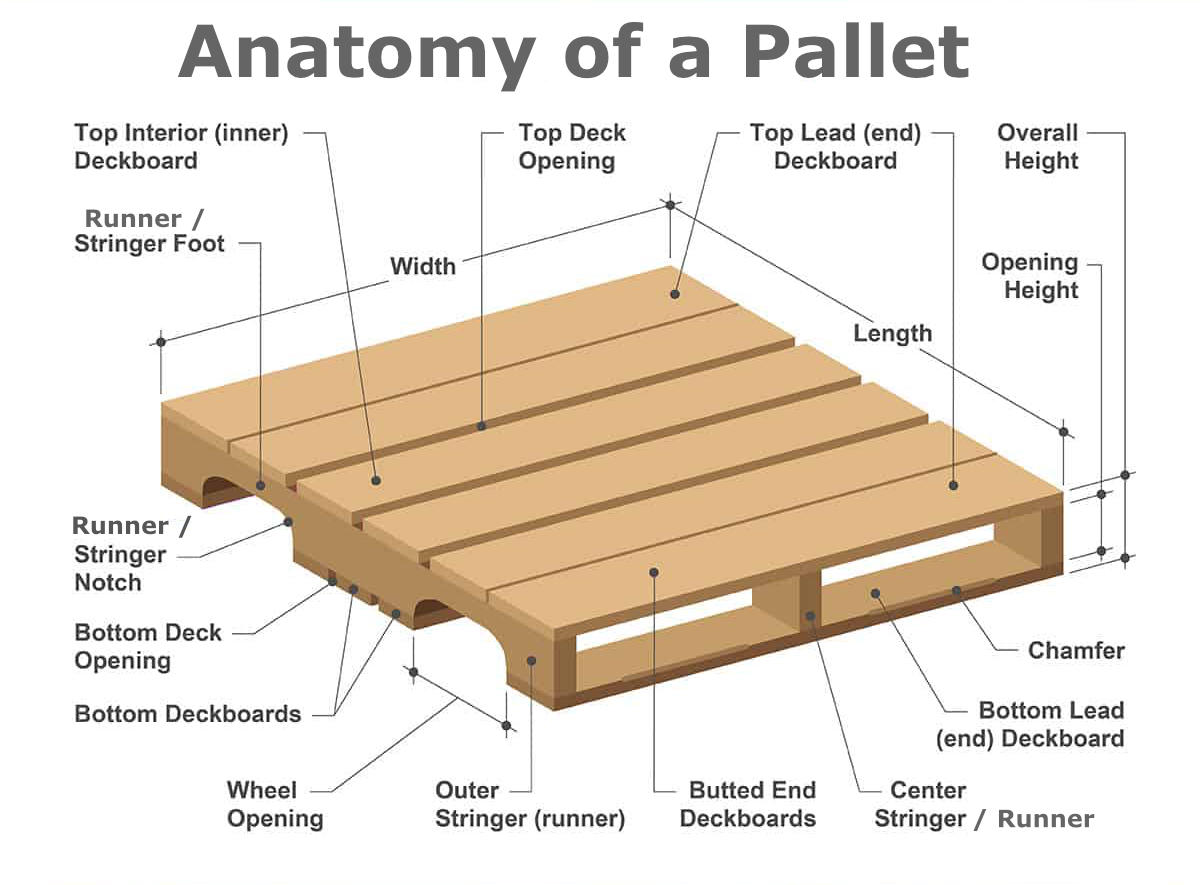
Painted pallets, like the blue "Chep" brand found in Australia, and other brands which may be a dark brown or maroon colour are usually not given as part of the delivery and must be returned back to the transport agency. Given that they're painted, that means more sanding so I generally don't bother. However, in other countries, I have absolutely no idea, so check that out with your relevant sources. Most free pallets tend to be made of pine, or a mixture of pine and chip board. That doesn't mean that all hardwood pallets are unavailable, but pine is by far the most common (free) type here in Australia.

Dismantling Methods
When dismantling a pallet, everyone has their way of doing it...or so it seems.
If you do a quick search online, you'll see that pallet recycling is a lot like a recipe that has a lot of variations. There's the ingredients, such as the pallets, tools, safety gear, and (un)willing volunteers. Similarly, there are the quirky methods which diverge quite wildly from one person to the next, depending on who you ask.
Method 1: Cut the deck boards/slats on either side of the stringers/runners:
Some people simply cut the palings into short sticks by sawing off the wood between the "runners" (which are the chunky planks between the slats/deck boards on either side) using a saw of some variety. This is perhaps the easiest, and certainly the quickest, method but the down sides are that the planks are much shorter, and then you're still left with runners with the nailed remnants of planks attached. So there's quite a bit of waste there. However, if you like turning pens, firewood, or making small projects, then this is quite well suited.
Perhaps a hybrid between this method (and the next) is to cut the outside runners/stringers off with a circular/reciprocating saw, then pry the remaining slats/top boards from the middle runner/stringer.
Method 2: Pry/Hammer the slats to loosen the slats from the runners just a little bit, and then cut the nails with a reciprocating saw.
This obviously has an extra step, and requires a reciprocating saw. Simply loosen the nails to get enough room between runners/deckboards to get your saw blade between it, and then cut the nails. This isn't quite as fast as the first method, but you do get the full length of the slats/deck boards without cutting the wood.This is a great method provided you are using the wood "as is", don't have a truck/trailer to move whole pallets, and have little time to dismantle the pallet. However this method has problems too.
The downside to this is that there are still "bits of nails" in the wood which will be a problem with planing, sanding, and even cutting the wood in the future. You can of course, use a nail punch to remove the nails from the deck board planks later, but you're almost stuck driving the nail ends further if you want to use the runners. The second downside is that it assumes you have a reciprocating saw... you could also use a jig saw with a metal blade, but I don't like the results since it's more likely to mar the wood. A hacksaw has been (in my experience) far too cumbersome to be practical. If you're going to do this method, time is most likely a factor, so use the right tool for the job.
Of course, using a powered saw of any type, means you're probably going to mar the wood when you aren't perfectly lined up. So there's the potential for rendering at least some wood "less attractive". However, this may actually work if you like the "rustic" look. I guess it all depends on your goals. :-)
Here's a video showing the methods discussed so far.
Method 3: Simply pry the pallets apart with lever-based tools of some variety, then use a hammer/pry bar/other tool to yank those nails.
I'd argue that this is the way to save the most amount of wood. Leveraging the nailed parts apart is much more quiet, and often safer than other options. It also leaves the nails in a relatively easily removable state. However, this method is one which has the most variants.
The cheapest approach:
Some people use two planks of wood on either side of a slat to pry it up using the neighbouring boards as fulcrums. Using two boards from each side simultaneously reduces the chance of cracking boards. Then when there are no more neighbouring boards, putting down more planks (parallel to the palings) works well. You can find a link on YouTube here:
The middle of the road approach:
Others use a "jemmy" bar, to pry up the palings. I really don't like this method as the bar often splits the paling due to the way the jemmy bar is shaped. But I do love a good (large) bar to pry out all the nails once the boards are separated... since a claw hammer often doesn't provide the leverage that a large pry bar can. Then use a hammer to drive up/claw out the nails.
The back & knee saving luxury approach:
 If you're going to do a lot of deck work, or recycling pallets, you should really consider either making or buying specialized decking tools. Being a tall guy, this is by far the best method for me. I can stand upright while laying the pallets on the ground, and I break fewer board with my specialist tools. I use two. One is the Vestil Pallet buster (the blue tool in the image), great for the seriously heavy duty stuff because the entire unit is made of steel) which uses hinged prongs to stop breaking/cracking boards, and the other one I use is the Duckbill Deck Wrecker, (The grey one below) which is lighter because of a fibreglass handle, and the narrower prongs get in between the pallet slats more easily. The "Duckbill" shaped prongs means that as I lever up the boards, curvature of the tongs stays relatively parallel to the boards, but the area of contact with the board being levered is smaller than that on the Pallet Buster. Nonetheless, the shape is also aimed reducing the rate of cracked/broken boards that would occur with a simple straight prong. Overall, I think it works pretty well.

Alternative methods
Of course, you don't have to use a reciprocating saw. Here's a video of a pallet busting horizontal band saw that's set to the height of the deck board wood thickness....
Once the boards are separated..
I usually just use a claw hammer to remove the nails. If that fails, I have the biggest clawed pry bar I could find to move those particularly difficult nails. Very occasionally, a nail will snap, so my choices there are to:
- drive the remaining bit of the nail through (or failing that, deep enough to not bother me),
- cut off the nailed bit of the board and use the "nail free" part, or...
- scrap the entire board.
Once you've got your new nail-free boards, you need to decide how you're going to use them. For "rustic" pieces, using them might literally be as simple as making a picture frame, with little treatment at all. If you're hoping to make a laminated, planed flat, jointed table top... then you've got a lot of work to do and need many tools to head toward that goal.
Honestly, I think pallets work best when they're used "as is" for that rustic look. Simple projects like fruit crates, picture frames, and rustic signs are probably a good starting point. However, you can certainly put more effort in to get closer to a "fine woodworking" result.
Ultimately, there is a trade off between the cost of labour, and the cost of materials. Usually, if you're able to skimp on the cost of one, you're usually paying for it in the cost of the other. However, who doesn't like the idea of making something amazing from free wood? You just have to ask yourself, "am I able and willing to put the time and effort in to do that?"
Case in point....

I hope you try making something amazing with pallets, but be safe and have fun!
Ham.
P.S. I've made tool walls, shelving, simple wooden toys, even Ren's soap cutter version 1.2 with pallet wood.

